掌握CSS的实用技巧
发表时间: 2022-09-24 12:30
css一直都是一个玄学语言,很简单也很灵活复杂。有些异常的效果,很多有经验的开发者也搞不明白该怎么解释。今天就来盘点那些好用意想不到效果的样式。
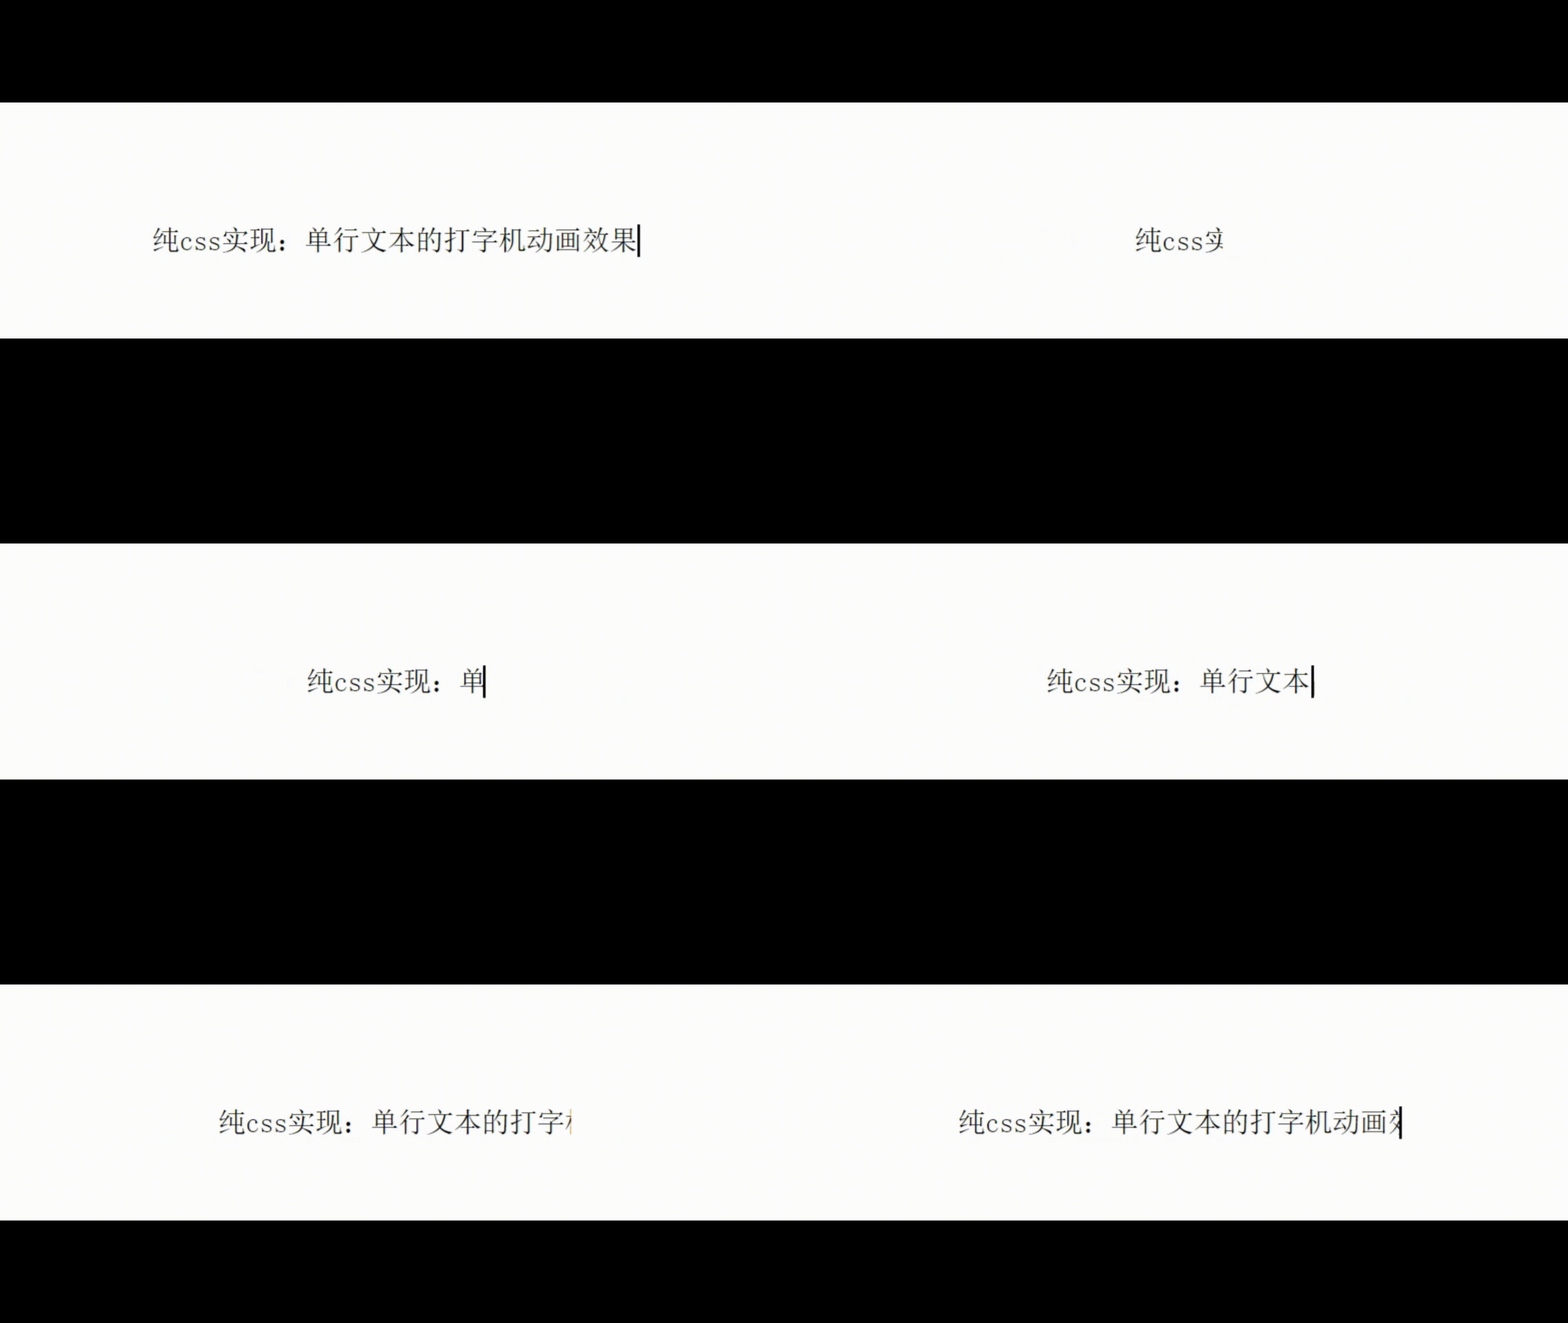
经常在网页首页我们可以看到类似这种打字效果的样式,可以用 js 来实现,但是用 css 更加优雅。

打字机效果
<!-- html代码 --><div class="typing"> <div class="effect">纯css实现:单行文本的打字机动画效果</div> </div> /* css代码 */ .typing { height: 80vh; display: flex; align-items: center; justify-content: center; } .effect { width: 35ch; white-space: nowrap; overflow: hidden; border-right: 3px solid; font-family: monospace; font-size: 2em; animation: typingAnimation 2s steps(22), effect .5s step-end infinite alternate; } @keyframes typingAnimation { from { width: 0; } } @keyframes effect { 50% { border-color: transparent; } }对于png的图片是带有透明通道的(也就是Alpha通道),在这种情况下你是否使用过 box-shadow 为图片添加阴影?但是效果却不是我们想要的,而正确的方式应该使用drop-shadow来为图片添加阴影。drop-shadow 的工作原理也很简单,就是遵循给给定图片的 Alpha 通道。因此阴影是基于图片的内部形状,而不是显示在图片外面的轮廓。

两者属性的效果
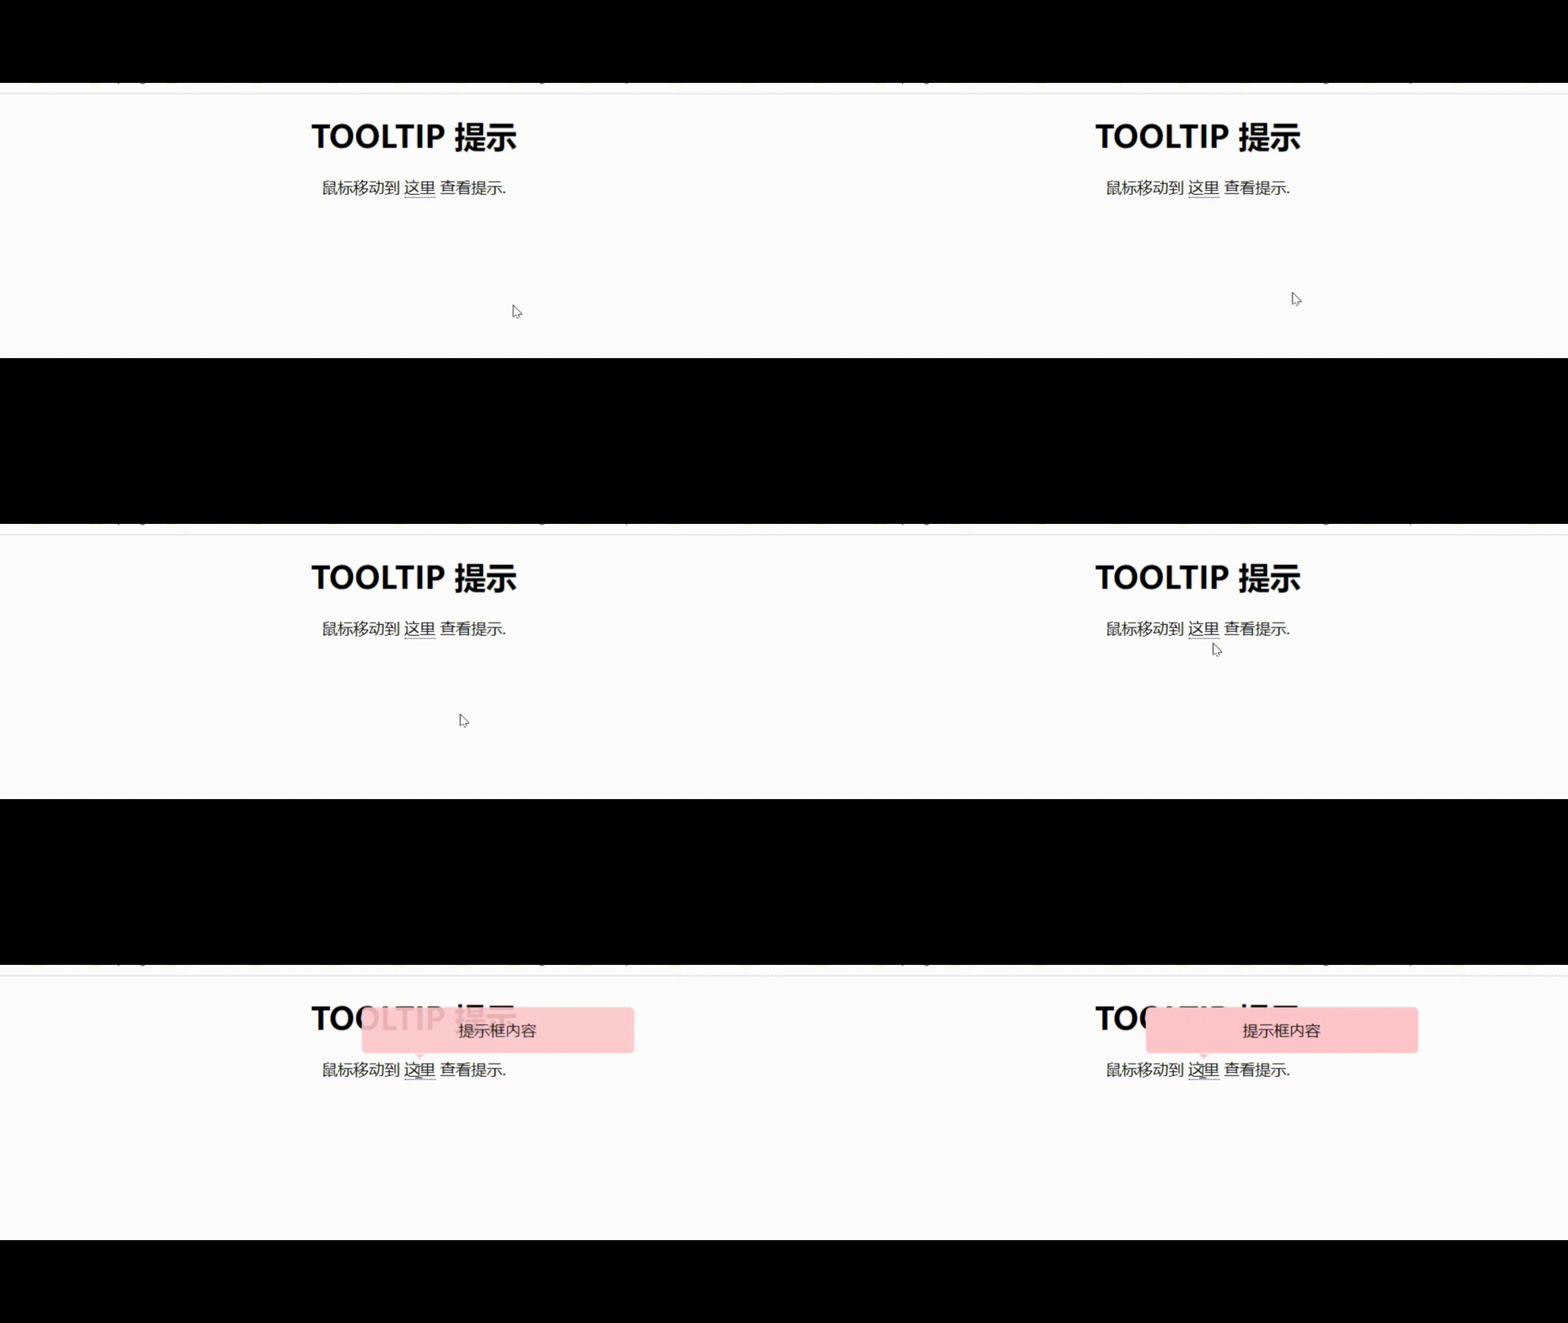
来实现这种提示框的效果我们第一反应可能就是使用 js 来实现弹框的效果,其实利用 attr() 属性更加的简单。我们使用 tooltip 样式类来展示显示的文字样式,利用 :before 和 :after 伪类的 content 属性填充内容,内容的变量就是 tooltip-data 属性的值

tooltip提示框效果
<!-- html代码 --> <div class="wrap"> <h1> TOOLTIP 提示 </h1> <p> 鼠标移动到 <span class="tooltip" tooltip-data="提示框内容">这里</span> 查看提示. </p> </div>/* css代码 */ .wrap { text-align: center; } .tooltip { position: relative; border-bottom: 1px dotted black; } .tooltip:before { content: attr(tooltip-data); position: absolute; width: 250px; background-color: pink; color: #000; text-align: center; padding: 15px; font-size:16; line-height: 1.1; border-radius: 5px; z-index: 1; opacity: 0; transition: opacity .5s; bottom: 125%; left: 50%; margin-left: -60px; } .tooltip:after { content: ""; position: absolute; bottom: 75%; left: 50%; margin-left: -5px; border-width: 5px; border-style: solid; opacity: 0; transition: opacity .5s; border-color: pink transparent transparent transparent; } .tooltip:hover:before, .tooltip:hover:after { opacity: 1; }