JavaScript简介:轻松掌握
发表时间: 2023-06-28 17:21
首先我们复制我们的起始js代码
///////////////////////////////////////////////////////////// Fixing flexbox gap property missing in some Safari versionsfunction checkFlexGap() { var flex = document.createElement("div"); flex.style.display = "flex"; flex.style.flexDirection = "column"; flex.style.rowGap = "1px"; flex.appendChild(document.createElement("div")); flex.appendChild(document.createElement("div")); document.body.appendChild(flex); var isSupported = flex.scrollHeight === 1; flex.parentNode.removeChild(flex); console.log(isSupported); if (!isSupported) document.body.classList.add("no-flexbox-gap");}checkFlexGap();// https://unpkg.com/smoothscroll-polyfill@0.4.4/dist/smoothscroll.min.js/*.no-flexbox-gap .main-nav-list li:not(:last-child) { margin-right: 4.8rem;}.no-flexbox-gap .list-item:not(:last-child) { margin-bottom: 1.6rem;}.no-flexbox-gap .list-icon:not(:last-child) { margin-right: 1.6rem;}.no-flexbox-gap .delivered-faces { margin-right: 1.6rem;}.no-flexbox-gap .meal-attribute:not(:last-child) { margin-bottom: 2rem;}.no-flexbox-gap .meal-icon { margin-right: 1.6rem;}.no-flexbox-gap .footer-row div:not(:last-child) { margin-right: 6.4rem;}.no-flexbox-gap .social-links li:not(:last-child) { margin-right: 2.4rem;}.no-flexbox-gap .footer-nav li:not(:last-child) { margin-bottom: 2.4rem;}@media (max-width: 75em) { .no-flexbox-gap .main-nav-list li:not(:last-child) { margin-right: 3.2rem; }}@media (max-width: 59em) { .no-flexbox-gap .main-nav-list li:not(:last-child) { margin-right: 0; margin-bottom: 4.8rem; }}*/<script defer src="js/script.js"></script>console.log("Hello world");
这样证明链接成功了!
const myName = '周杰伦';console.log(myName);
const myName = '周杰伦';const h1 = document.querySelector('.heading-primary'); ##选择文档中第一个类名为“heading-primary”的元素,并将其存储在名为“h1”的变量中。这个变量可以在后续的代码中被使用console.log(myName);console.log(h1);##在JavaScript中,document 是一个全局对象,代表整个HTML文档。querySelector 是document对象上的一个方法,它可以通过指定CSS选择器来查找文档中的元素。
h1.textContent = myName;##这行代码的意思是将一个名为 myName 的变量的值赋给 h1 元素的文本内容。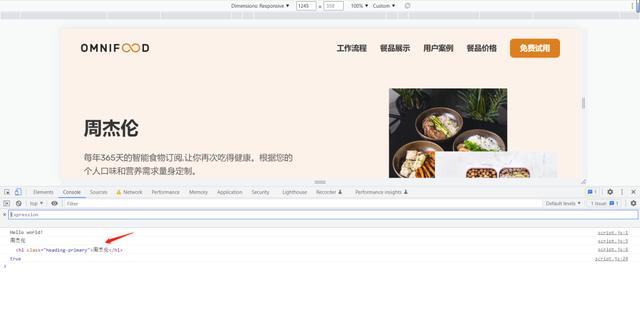
h1.style.backgroundColor = "red";##h1.style.backgroundColor = "red";
注意:在JavaScript中,属性和方法名不能包含破折号(-),而只能使用驼峰式命名法。因此,在JavaScript中,background-color 这个CSS属性需要写成 backgroundColor,使用驼峰式命名法来表示。这是因为JavaScript中的语法规则所决定的。
h1.style.padding = "3.2rem";
h1.addEventListener("click", function () { #当点击的时候触发function函数,指定函数里面的内容 h1.textContent = myName; h1.style.backgroundColor = "red"; h1.style.padding = "3.2rem";});##addEventListener 是 JavaScript 中用于添加事件监听器的方法。它可以在指定的元素上添加一个事件监听器,监听指定的事件,当事件被触发时,执行指定的回调函数。

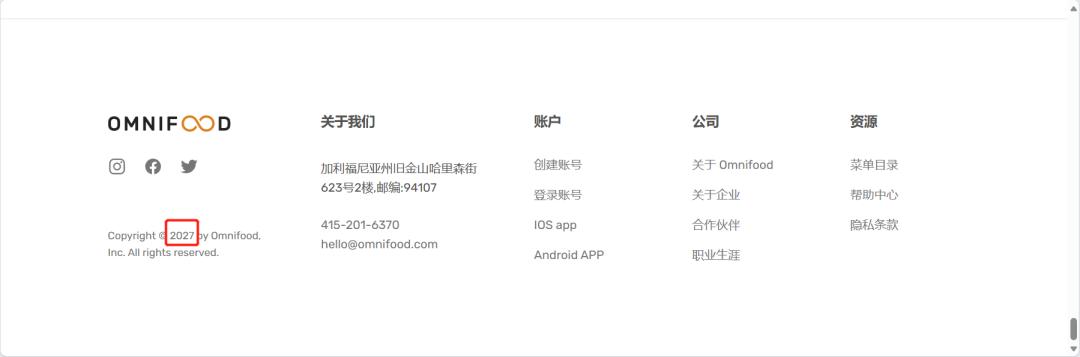
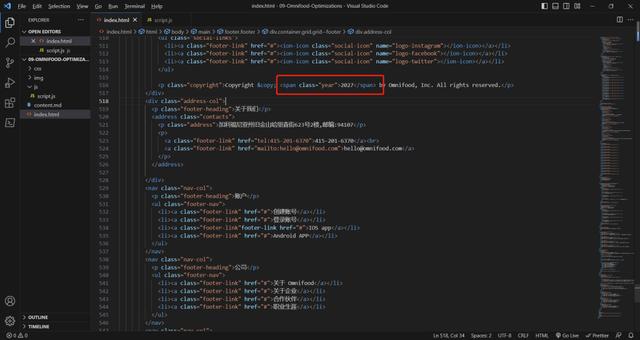
const yearEl = document.querySelector (".year");const currentYear = new Date().getFullYear();yearEl.textContent = currentYear;## 这段代码的作用是获取 HTML 中 class 为 year 的元素,然后将当前年份设置为该元素的文本内容。##首先,通过 document.querySelector(".year") 获取了 HTML 中 class 为 year 的元素,然后通过 new Date().getFullYear() 获取当前年份,并将其赋值给 currentYear 变量。最后,将 currentYear 变量的值设置为 yearEl 元素的文本内容,即将当前年份显示在页面中。声明:本站内容部分源于网络转载,出于传递更多信息之目的,并不意味着赞同其观点或证实其描述。文章内容仅供参考,请咨询相关专业人士。
如果无意之中侵犯了您的版权,或有意见、反馈或投诉等情况, 请联系本站,[qq:]
Copyright ©2024 编程密语 All rights reserved 版权所有 鲁ICP备09004228号-12
 鲁公网安备37020202000738号